How to Take a Screenshot on Laptop for Instant Information Capture?
In this article, we learn how to take a screenshot on laptop. Everyone is not aware of how can we take a screenshot on windows. Sometimes we are reading an article and we want to share some specific part of that article image with your friend. A screenshot is a still image and helps to share any visual content from a program, website, or video game. you can easily share with any social media, via mail, or file sharing sites.

To capture your work today, you need to take screenshots on your laptop since everything is done online. When students are taking online classes they take a screenshot of their notes so they can read them later. Also, you can save an image for later use when you need it as proof. On Windows, there are a variety of methods for taking screenshots. So let’s talk about these methods.
How to Take a Screenshot on Laptop
Almost every computer user will need to capture a screenshot at some point, even if it’s just to communicate what they’re doing on the computer with a colleague or friends. Here we learn how to take a screenshot using keyboard shortcuts on the entire screen and use the snipping tool to take a screenshot. Not only will you learn how to take screenshots, but you will also learn how to record videos. So if you want to take a screenshot of something on your computer screen, follow these steps.
Use Print Screen Key to take a screenshot
You can use this method on any windows even in Windows 95 and XP. This is the quickest way to take a screenshot and you can also use them in any app. It will take a screenshot of an entire screen. Depending on the keyboard, the print screen key is labeled as “PrtSc”, “PrtScn”, or “Print Screen”. You can see the key above with the function keys beside the F12 or also beside the backspace.
To take a screenshot of some latest keyboards, and notable laptops you have to press the Function key “Fn” simultaneously with the “PrtSc”. Sometimes you have to press Alt+PrtScn. Now the screenshot will be saved on the clipboard of the entire screen.
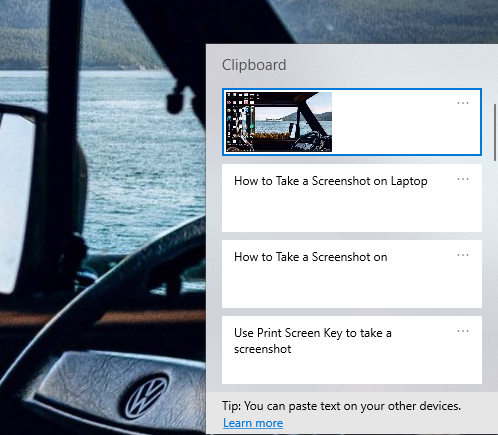
By Pressing Windows key+ v you can see the history of the clipboard also from there you can copy an image and paste it on email or social media.
How to edit, save and share the screenshot
You can save the screenshot by pasting an image to any photo editing software. This is the simplest way to edit and save the image and paste the screenshot on Microsoft. Which is included with all current versions of Windows, is a free program.
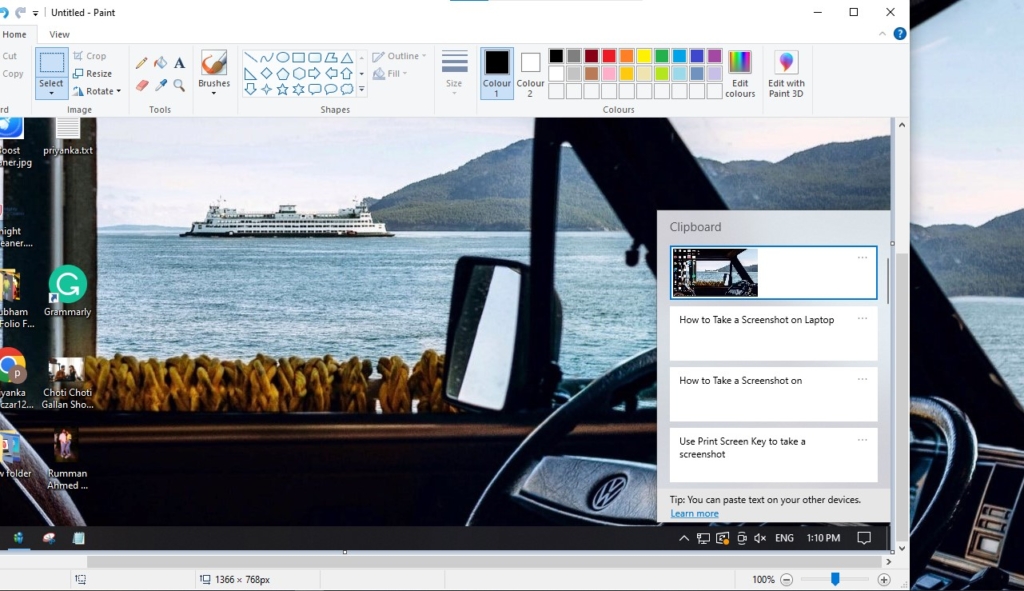
After pasting the image you can crop the image or do any editing you want to do after that save the image by pressing Ctrl+s.
How to Take a Screenshots with Snip & Sketch Tool
How to Take a Screenshots with Snip & Sketch Tool
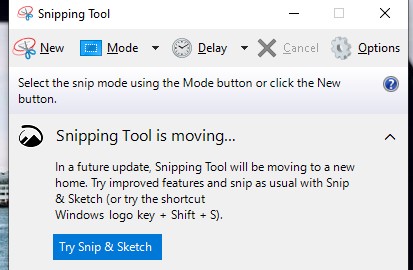
A snipping tool is pre-installed on every recent version of Windows. You can quickly capture a screenshot and perform basic editing, such as cropping an image if you don’t require the complete screen for a screenshot you can crop an image. Also edit the screenshot with the highlighter, eraser, and pen tools. You can quickly open it by typing its name into the toolbar search box. It offers several screenshot modes, including free form, but the most common is a rectangle screenshot shape, which allows you to easily adjust the image to your needs. It also offers you some other interesting features like delay mode which allows you to take a screenshot a little later.
You can also use shortcut keys to speed up your work. Ctrl+ PrtScn or Alt+N can be used to take a new screenshot. Press Alt+M to switch between many modes, from rectangular to free-form and full-screen. Alt+D will enable you to set a screenshot delay option. To save a screenshot, press Ctrl+S, and to copy a screenshot to your clipboard, press Ctrl+C.
How to take screenshots on a laptop with Snipping Tool
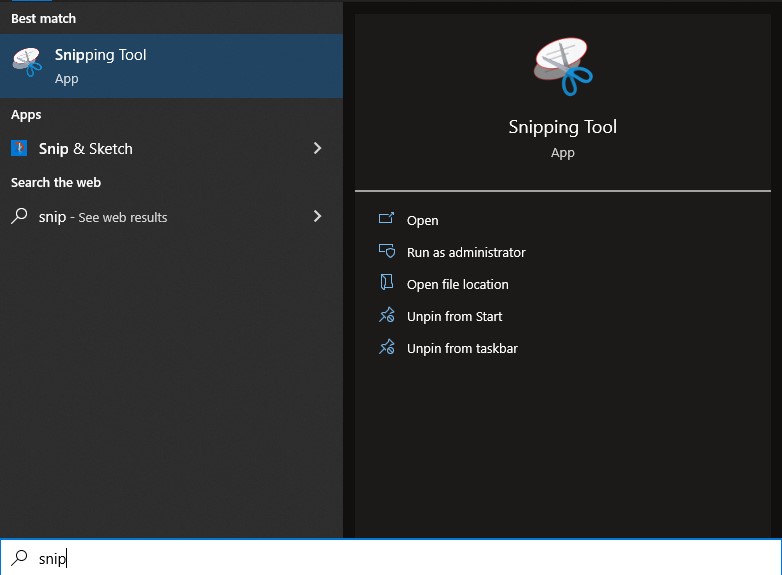
- Press on the windows keys to open the search bar also use the shortcut key windows key+ S and type snip then select Snipping Tool.
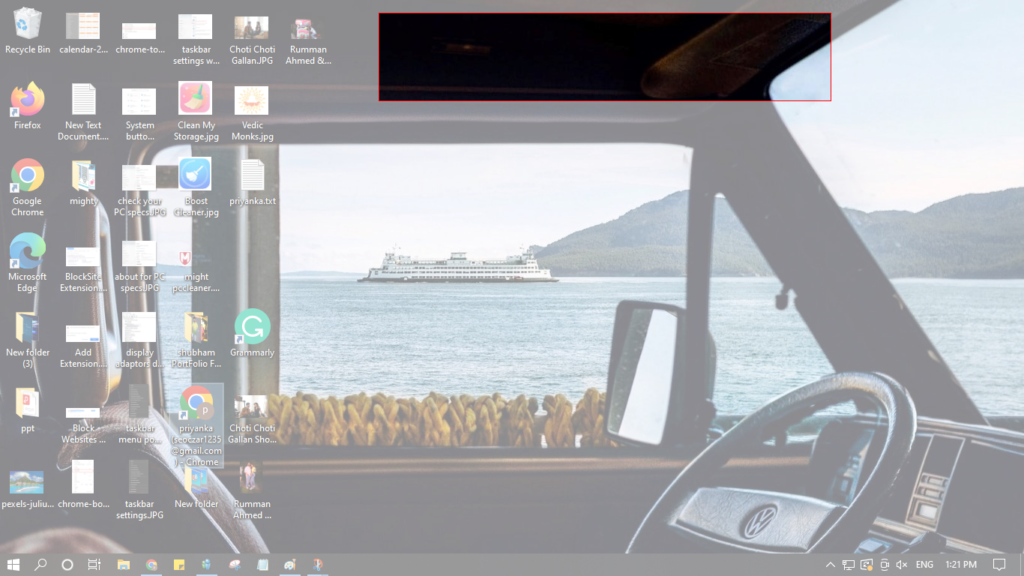
- To capture a screenshot click on the New option on the Snipping tool.
- Drag the crosshair to the location where you wish to begin the screenshot, then release it to choose an area.
- To save the screenshot, click the Save Snip icon or press Ctrl+S.
How to Use Xbox Game Bar to Screenshot a Game
The Xbox Game Bar is a pre-installed tool in windows 10 and 11. It helps to take screenshots, to help gamers to capture video, and you can also record movies. You can also see the performance of your laptop while playing games. Using the Spotify widget in the Xbox Game Bar, you can listen to and manage your music while playing your favorite games. By pressing Windows Key +G you can open Xbox Gamer Bar.
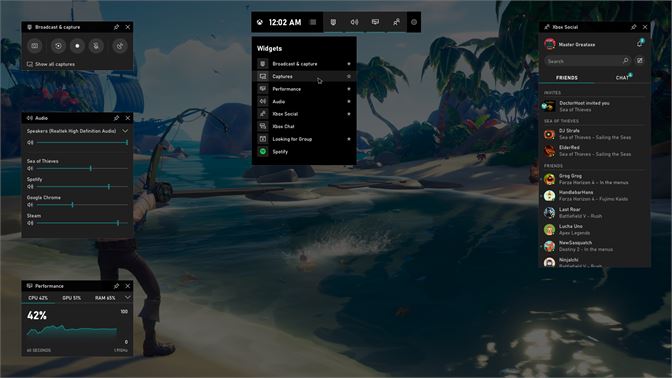
When Xbox Gamer Bar is open to take screenshots click on the camera button in the top left corner and also use the screen shortcut keys Windows key+Alt+PrtScn.
To see a recent captures click on Show all capture button. All latest screenshots can be seen and shared on Twitter from this tool.
Conclusion
Here we discussed the options we have for taking screenshots in the old version of Windows 7 or the new version of Windows 10. You can utilize keyboard shortcut keys like PrntScn, as well as Windows built-in utilities like Snipping & Sketch and Xbox Game Bar, to record games or movies and take screenshots. We hope this article will helpful for you to take screenshots of your work. If you have any doubts or queries you can contact our support team. They will help you.