How to Turn a Laptop into a Desktop Workstation (Easy Way to Convert)
This article will guide you on how to turn a laptop into a desktop. First, you have to understand the main difference between laptops and desktop computers is that the latter is, well, bigger: they’re designed to be set on a beautiful, comfy desk and adorned with a variety of accessories. However, if you currently have a laptop, you already have all of the components of a desktop, plus some. Why not kick back and get the full desktop experience if you’re not going anywhere for a while?
Laptops normally don’t have as much screen space as desktops; they frequently cost more money for the same level of performance; they don’t have as many ports and connection options, and you’ll almost always have to deal with a smaller keyboard. Most significantly, they can be hazardous for your posture since if you use one on your lap, you’ll be staring down instead of sitting.
The reason for this is that you probably don’t have everything you’ll need for a complete desktop setup. But buying that gear is simple, as is putting it together in such a way that getting your laptop in and out is a breeze. You get the best of both worlds a complete, comfy desktop configuration when you want it and a portable laptop when you need it.
Any laptop can be converted into a desktop computer
Maybe many have this question how to turn a laptop into a desktop with any laptop or not? Yes, With a few cords and the required peripherals, you can easily convert your portable PC into something more permanent. The best aspect is that your laptop doesn’t have to be attached to your desk; if you need to move, simply unplug the cords and you’re ready to go.
If you’ve been working from home on your laptop since the pandemic and aren’t getting as much work done as you used to, you may need to make some adjustments to your present work setup. Using your laptop on your bed or at your dining table will no longer suffice, especially with the possibility of a lockdown extension. With a little effort and a few tweaks, you can achieve the results you want. So first you have to learn how to turn a laptop into a desktop.
We’ve compiled a list of helpful hints for converting your laptop to a desktop arrangement. These ideas are particularly beneficial if you have an old laptop lying around your house that you can convert into a basic desktop for your kids or for doing simple tasks like online browsing, music playback, or file management.
The good stuff: components for your computer’s desktop
The main benefit of putting this together is that you can use your laptop with fantastic, simple desktop components. (Of course, you’ll also require a desk or table as well as a chair.) You can use as many or as few as you want, but these are the most important components for how to turn a laptop into a desktop in the best way:
Monitor:
The first issue most people ask is if their laptop can manage all of those extra peripherals, such as a bigger screen. Yes is virtually always the answer for most individuals. An Intel Sandy Bridge CPU, for example, can still be used. All that matters is that the computer is equipped with a capable processor and integrated graphics.
If you’re using a Pentium or Celeron processor, it’s probable that utilizing both the laptop and the external monitor at the same time will cause performance concerns. Most laptop Intel Core and AMD Ryzen CPUs, on the other hand, will have no trouble driving an external display.
A larger external screen that allows you to rest your eyes while watching movies or playing video games. You can utilize your laptop’s screen and an external monitor at the same time, or many monitors if your hardware allows it, for a complete battle station.
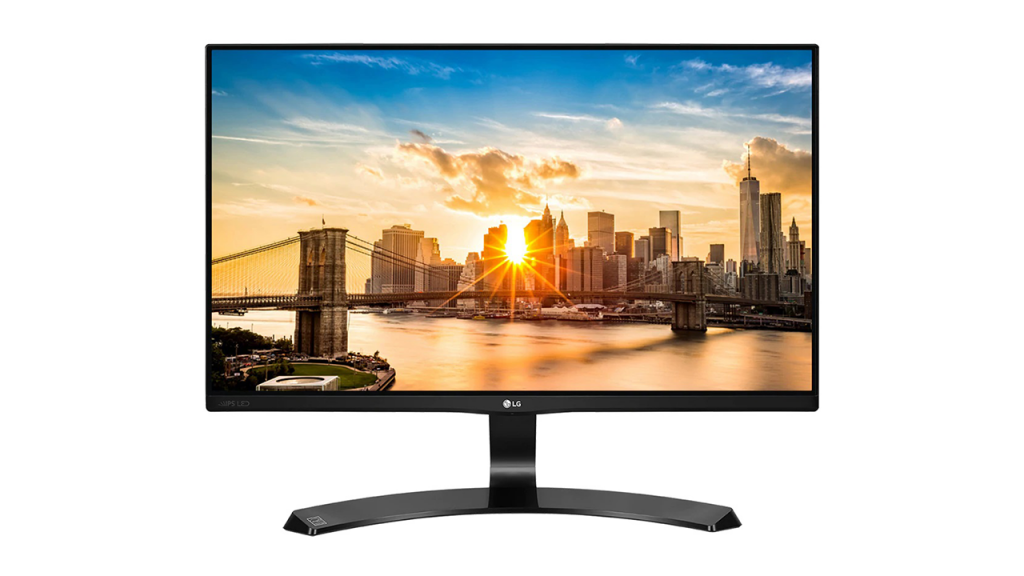
Even if your laptop screen is brilliant and bright, staring at it for long periods of time is bad for your neck. Adding a second screen will not only put your neck in a more natural position because you’ll be looking higher up, but it will also give you more screen real estate to work with—if you’ve ever wanted to fit a few more rows and columns of your favorite spreadsheet on screen, or simply watch movies on a larger screen.
Your laptop’s video outputs will decide what connections you’ll need on any monitor you buy (though dongles and adaptors might be an option). The standards to look for are HDMI, DisplayPort, Thunderbolt, and USB-C, and you may choose whatever size and quality of the screen you choose (and your budget allows). You can use a second monitor instead of or in addition to your laptop’s display.
It’s also simple to set up. When you attach the external display to your laptop and turn it on, Windows, macOS, or ChromeOS should recognize it and begin outputting to it. To set up the secondary screen, go to System then Display in Settings on Windows, Displays in System Preferences on a Mac, and Displays in Settings on a Chromebook (and switch to it completely if needed).
Recognize Your Laptop’s Ports
The following step is to determine which ports your laptop has in an ideal world, you’d buy a monitor with the same type of connection so you only have to buy one cable.
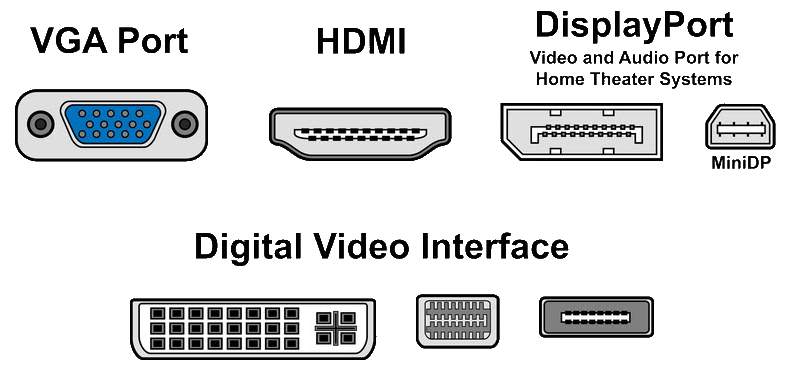
You’ll probably come across a few different port kinds. Of course, HDMI is the most ubiquitous, as shown in the laptop above. DisplayPort is the next option, which is typically found on game displays.
DVI-D comes next. Although this port isn’t very prevalent on laptops these days, it may be found on many mid-range and lower-cost monitors. You’ll need an adaptor if you end up buying a monitor that just has DVI-D. Mini DisplayPort is another option, which isn’t widely used but can be found on both laptops and displays.
Finally, there’s VGA, which has been used on computers since the 1980s. The VGA port is the largest and most noticeable of the ports you’ll encounter. Although it’s unlikely that your equipment only supports VGA, some monitors do. VGA should only be used if there are no other options.
The Display You’ll Need
The monitor is the most important part of any laptop to desktop configuration. Try to use a monitor with the same resolution as your laptop. This makes things easy for your laptop to deal with and reduces any performance issues.
The sole exception is anyone using a monitor that is less than 1080p, such as 1366-by-768. Those individuals should acquire a 1080p display, and the laptop should be able to use the external display’s native resolution without difficulty. Upgrade to a 1440p or 4K display if you have a third-generation Core processor, a newer Ryzen processor, or a laptop with a discrete GPU.
If you wish to drive more than one external monitor, you’re in a whole different ballgame, and we won’t get into it here. You’ll need a strong laptop GPU, as well as enough ports (or GPU bandwidth and a hub with enough connections) to support numerous external displays.
Try a Dock for your Laptop
Another advantage of desktop computers over laptops is that they typically include more ports and other accessories, such as memory card slots. If your laptop is lacking in this area, hubs and docks are a simple way to add all kinds of features, from Ethernet to HDMI out. If your laptop is a popular model, you may be able to discover docks developed expressly for it.
Docks and hubs can be simple or complicated (and expensive), with hundreds of ports and connecting choices all in one device. Again, knowing what features and functionality you require ahead of time are critical—you don’t want to invest in a laptop dock only to discover later that it lacks something you require.
Apart from connecting the previously stated monitors, keyboards, and mice, docks and hubs also allow you to connect other peripherals such as gamepads, printers, external hard drives, graphics tablets, and so on. They can provide you with as much as or even more freedom than a desktop PC, but be careful not to overburden smaller, lighter laptops that can’t handle the extra hardware.
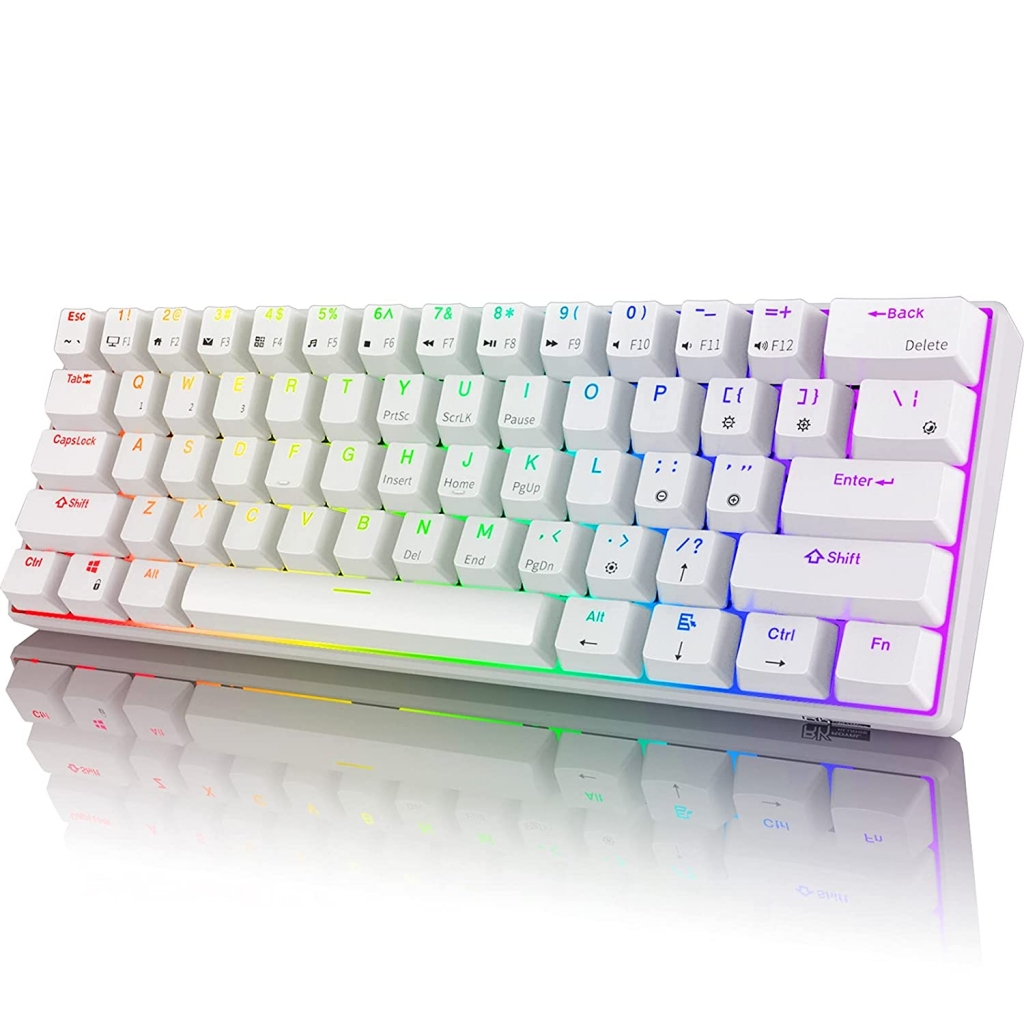
Set up Keyboard & Mouse
Although purchasing a keyboard and mouse when your laptop already has a keyboard and trackpad may appear to be a waste of money, there are compelling reasons to do so. It can help you find a more natural typing position for your body that is gentler on your arms, it can allow you access to extra keys that your laptop may not have, and it can provide you more flexibility when it comes to cursor aiming.
If you’re going to get a separate keyboard for your laptop, go large and acquire one with a number pad, media shortcut keys, and as many extras as possible that aren’t available on your laptop. You might want to opt for one with mechanical keys, RGB lights, or any other customizations that your standard laptop device lacks. For the most adaptability.
You can choose from models with several buttons, multiple configuration options, and wired or wireless connections when it comes to a computer mouse. A trackball may be healthier for your wrists and fingers than a regular mouse, but either device will keep you from hunching over your laptop for hours.
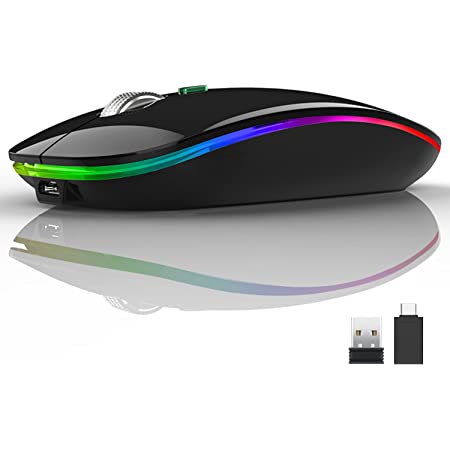
Regardless of which device you choose, setup should be simple and straightforward—just connect the keyboard or mouse through Bluetooth (or put in the provided wireless dongle) and you should be up and running in a matter of seconds. Check to see if the keyboard or mouse manufacturer has produced a dedicated utility for the device. Additional settings are available in Windows Settings (Devices), macOS System Preferences (Keyboard and Mouse), and ChromeOS Settings (Device).
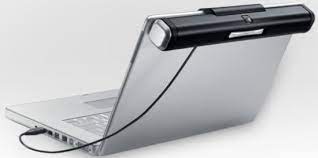
Speakers
Your laptop’s speakers will work while you work at a desk, but if you want a louder, bolder sound, invest in a set of dedicated speakers. (Or a decent headset or a pair of genuine wireless earphones if you like.)
Cables, Peripherals, and Setup
Now it’s time for the easy part. Connect your laptop’s display cord to your monitor of choice, whether by HDMI, DisplayPort, DVI, or VGA, with the laptop turned off. Connect a desktop keyboard and external mouse to your laptop’s USB ports. If your computer doesn’t have enough USB ports, you’ll need to invest in a USB hub or a keyboard with a USB passthrough.
We’re about to get started. If you’re going to use your laptop as a second display, put it to the right or left of the external monitor, depending on your preference.
Make sure your laptop display is at eye level for the optimum viewing experience. A stack of books or a box can be used to do this. A fancier-angled laptop holder will also work, but it isn’t necessary because the laptop is so light.
We’re all set to start working on it now. Turn on your computer, make sure the display is turned on, and wait. After you sign in to Windows, most computers should immediately switch to the external monitor.
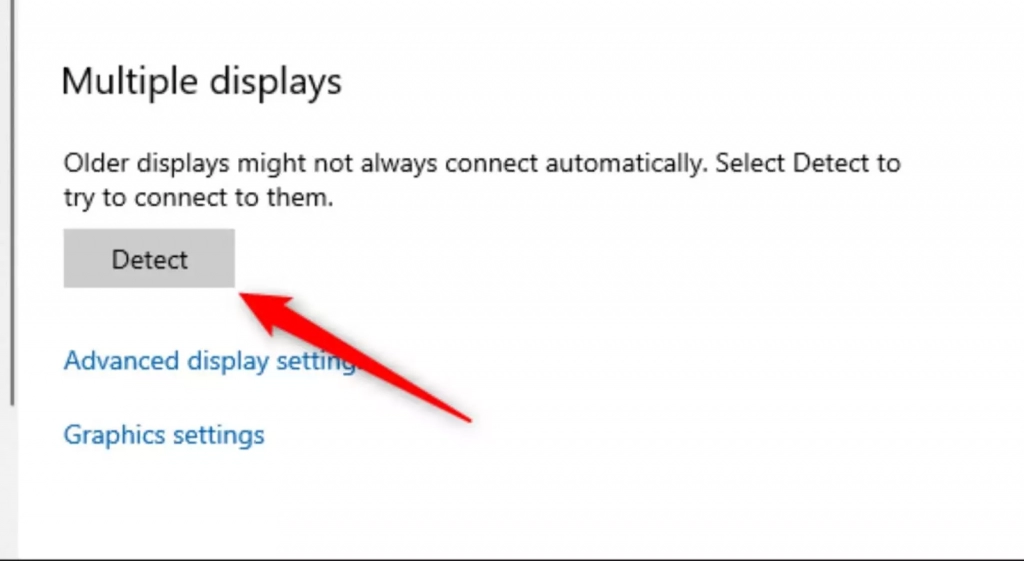
Wait a few minutes if you don’t see anything on the display after logging in. Then double-check that the cables are properly inserted. If it doesn’t work, go to Settings > System > Display in Windows 10 to see if the PC is detecting the external display. Click the Detect buttons, under Multiple Displays.
If none of these procedures work, you can try updating or reinstalling the graphics driver. Serious problems that aren’t resolved by these measures should be quite rare.
External Monitor Configuration
It’s a breeze to modify your monitors once they’ve been set up. Your laptop monitor is usually labeled 1 and your external monitor is labeled 2, and they’re usually positioned with the laptop display to the left of the external monitor. Simply click and drag the monitor 1 icon in the Settings app to the right if your laptop is positioned to the right of the display.

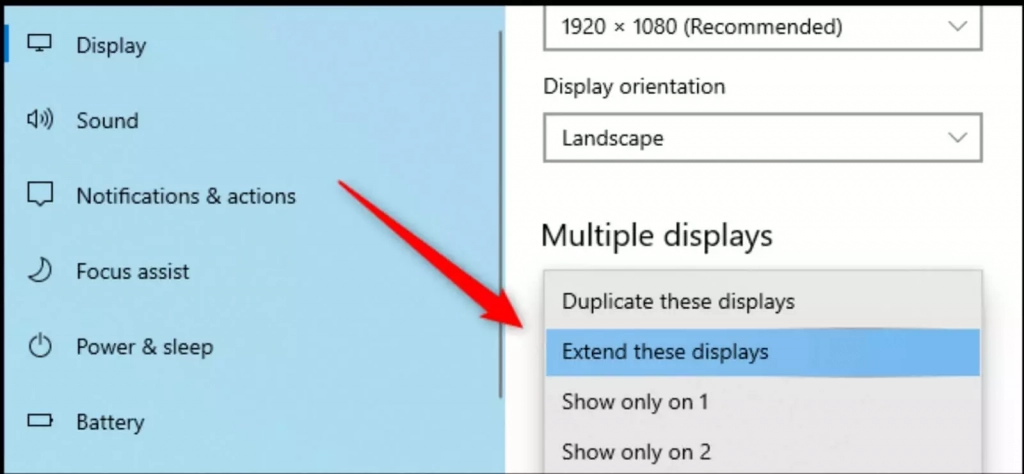
You can duplicate the displays, extend them, or only show the desktop on one of the monitors by going back to Settings > System > Display and scrolling down to “Multiple Displays.”
Anyone who wants to use two monitors should use the “Extend” option to make one large desktop. Choose to “Show exclusively on” the external display if you don’t want to use your laptop display.
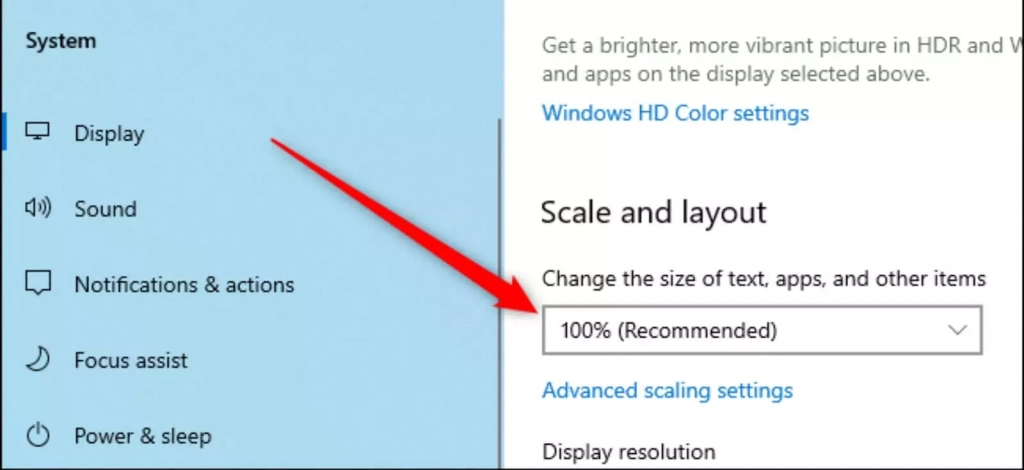
The external monitor’s scale (the size of the text and icons) and resolution may then be adjusted. To do so, go to Settings > System > Display, then scroll down to Scale and Layout and click the monitor 2 icon at the top.
Although Windows 10 does a decent job of selecting the appropriate scaling and resolution, if they don’t look just right, this is where you may make changes. If the computer isn’t operating adequately, you may need to lower the resolution of the external monitor.
Conclusion
I hope this article helps you to understand how to turn a laptop into a desktop in the best way and also under your budget. We include all the major components required for a desktop workstation such as what type of monitor, keyboard, mouse, and ports are needed. If you have any queries you can reach to us any time. Our support team assists you.